De admin backend beveiligen
De admin backend interface mag alleen toegankelijk zijn voor vertrouwde mensen. Het beveiligen van dit gedeelte van de website kan worden gedaan met behulp van de Symfony Security component.
Een User-entity definiëren
Ook al zullen de deelnemers niet in staat zijn om hun eigen accounts aan te maken op de website, we gaan een volledig functioneel authenticatiesysteem voor de admin creëren. We hebben dus maar één gebruiker, de websitebeheerder.
De eerste stap is het definiëren van een User-entity. Om verwarring te voorkomen noemen we dit Admin.
Om de Admin-entity te integreren met het Symfony Security authenticatiesysteem, moet deze aan een aantal specifieke vereisten voldoen. Het heeft bijvoorbeeld een password-property nodig.
Gebruik het speciale make:user commando in plaats van het voorheen gebruikte make:entity, om de Admin-entity te creëren:
1
$ symfony console make:user AdminGeef antwoord op de interactieve vragen: we willen Doctrine gebruiken om de admins op te slaan ( yes ), we gebruiken username voor de unieke weergavenaam van admins, en elke gebruiker zal een wachtwoord hebben ( yes ).
De gegenereerde class bevat methoden als getRoles() , eraseCredentials() en enkele andere die nodig zijn voor het Symfony authenticatiesysteem.
Als je meer properties aan de Admin gebruiker wil toevoegen, gebruik dan make:entity.
We voegen een __toString() methode toe omdat EasyAdmin dit graag heeft:
1
2
3
4
5
6
7
8
9
10
11
12
13
14
--- a/src/Entity/Admin.php
+++ b/src/Entity/Admin.php
@@ -54,6 +54,11 @@ class Admin implements UserInterface, PasswordAuthenticatedUserInterface
         return (string) $this->username;
     }

+    public function __toString(): string
+    {
+        return $this->username;
+    }
+
     /**
      * @see UserInterface
      */
Naast het genereren van de Admin-entity, heeft het commando ook de securityconfiguratie bijgewerkt om de entity te koppelen met het authenticatiesysteem:
1
2
3
4
5
6
7
8
9
10
11
12
13
14
15
16
17
18
19
--- a/config/packages/security.yaml
+++ b/config/packages/security.yaml
@@ -1,7 +1,15 @@
 security:
+    password_hashers:
+        App\Entity\Admin:
+            algorithm: auto
+
     # https://symfony.com/doc/current/security.html#where-do-users-come-from-user-providers
     providers:
-        in_memory: { memory: null }
+        # used to reload user from session & other features (e.g. switch_user)
+        app_user_provider:
+            entity:
+                class: App\Entity\Admin
+                property: username
     firewalls:
         dev:
             pattern: ^/(_(profiler|wdt)|css|images|js)/
We laten Symfony automatisch het best mogelijke algoritme gebruiken voor het hashen van wachtwoorden (dat in de loop der tijd kan evolueren).
We genereren een migratie en migreren de database:
1
2
$ symfony console make:migration
$ symfony console doctrine:migrations:migrate -n
Het genereren van een wachtwoord voor de admin-gebruiker
We zullen geen eigen systeem ontwikkelen voor het aanmaken van admin accounts. We hebben namelijk altijd maar één admin. De login wordt dan admin en we moeten het wachtwoord hashen.
Selecteer App\Entity\Admin, kies vervolgens wat je wil gebruiken als wachtwoord en voer het volgende commando uit om de hash van het wachtwoord te genereren:
1
$ symfony console security:hash-password1 2 3 4 5 6 7 8 9 10 11 12 13 14 15 16 17
Symfony Password Hash Utility
=============================

 Type in your password to be hashed:
 >

 ------------------ ---------------------------------------------------------------------------------------------------
  Key                Value
 ------------------ ---------------------------------------------------------------------------------------------------
  Hasher used        Symfony\Component\PasswordHasher\Hasher\MigratingPasswordHasher
  Password hash      $argon2id$v=19$m=65536,t=4,p=1$BQG+jovPcunctc30xG5PxQ$TiGbx451NKdo+g9vLtfkMy4KjASKSOcnNxjij4gTX1s
 ------------------ ---------------------------------------------------------------------------------------------------

 ! [NOTE] Self-salting hasher used: the hasher generated its own built-in salt.


 [OK] Password hashing succeeded
Een admin aanmaken
Voeg de admin gebruiker toe via een SQL statement:
1
2
3
$ symfony run psql -c "INSERT INTO admin (id, username, roles, password) \
  VALUES (nextval('admin_id_seq'), 'admin', '[\"ROLE_ADMIN\"]', \
  '\$argon2id\$v=19\$m=65536,t=4,p=1\$BQG+jovPcunctc30xG5PxQ\$TiGbx451NKdo+g9vLtfkMy4KjASKSOcnNxjij4gTX1s')"
Let op de escaping van het $ teken in de wachtwoordkolom; escape deze allemaal!
De beveiligingsauthenticatie configureren
Nu we een admin gebruiker hebben, kunnen we de admin backend beveiligen. Symfony ondersteunt verschillende authenticatiestrategieën. We kiezen voor de populaire klassieker formulier authenticatie systeem.
Draai make:auth om de beveiligingsconfiguratie bij te werken, een login template te genereren en een authenticator te maken:
1
$ symfony console make:authSelecteer 1 om een inlogformulier-authenticator te genereren, noem de authenticator class AppAuthenticator, de controller SecurityController en genereer een /logout URL ( yes ).
Het commando heeft de securityconfiguratie bijgewerkt om de gegenereerde classes te koppelen:
1
2
3
4
5
6
7
8
9
10
11
12
13
14
15
16
--- a/config/packages/security.yaml
+++ b/config/packages/security.yaml
@@ -16,6 +16,13 @@ security:
             security: false
         main:
             anonymous: lazy
+            guard:
+                authenticators:
+                    - App\Security\AppAuthenticator
+            logout:
+                path: app_logout
+                # where to redirect after logout
+                # target: app_any_route

             # activate different ways to authenticate
             # https://symfony.com/doc/current/security.html#firewalls-authentication
Zoals voorgesteld door het commando, moeten we de route in de onAuthenticationSuccess() methode aanpassen om de gebruiker om te leiden wanneer hij zich succesvol aanmeldt:
1
2
3
4
5
6
7
8
9
10
11
12
13
--- a/src/Security/AppAuthenticator.php
+++ b/src/Security/AppAuthenticator.php
@@ -49,9 +49,7 @@ class AppAuthenticator extends AbstractLoginFormAuthenticator
             return new RedirectResponse($targetPath);
         }

-        // For example:
-        //return new RedirectResponse($this->urlGenerator->generate('some_route'));
-        throw new \Exception('TODO: provide a valid redirect inside '.__FILE__);
+        return new RedirectResponse($this->urlGenerator->generate('admin'));
     }

     protected function getLoginUrl(Request $request): string
Tip
Hoe onthoud ik dat de EasyAdmin route admin is (zoals geconfigureerd in App\Controller\Admin\DashboardController)? Dat hoeft niet. Je kan het in dit bestand terugzien maar je kan ook het volgende commando uitvoeren, dat de associatie tussen routenamen en paden weergeeft:
1
$ symfony console debug:routerToegangscontrole-regels voor autorisatie toevoegen
Een securitysysteem bestaat uit twee delen: authenticatie en autorisatie. Bij het creëren van de admin-gebruiker hebben we deze de ROLE_ADMIN rol gegeven. We zullen de /admin beperken tot gebruikers die deze rol hebben door een regel toe te voegen aan access_control:
1
2
3
4
5
6
7
8
9
10
11
--- a/config/packages/security.yaml
+++ b/config/packages/security.yaml
@@ -35,7 +35,7 @@ security:
     # Easy way to control access for large sections of your site
     # Note: Only the *first* access control that matches will be used
     access_control:
-        # - { path: ^/admin, roles: ROLE_ADMIN }
+        - { path: ^/admin, roles: ROLE_ADMIN }
         # - { path: ^/profile, roles: ROLE_USER }

 when@test:
De access_control regels beperken de toegang door middel van reguliere expressies. Als je een URL probeert te benaderen die begint met /admin zal het beveiligingssysteem de ROLE_ADMIN rol verwachten van de ingelogde gebruiker.
Authenticatie via het inlogformulier
Als je toegang probeert te krijgen tot de backend van de admin, zal je nu doorgestuurd worden naar de inlogpagina. Daar zal gevraagd worden om een login en een wachtwoord in te voeren:
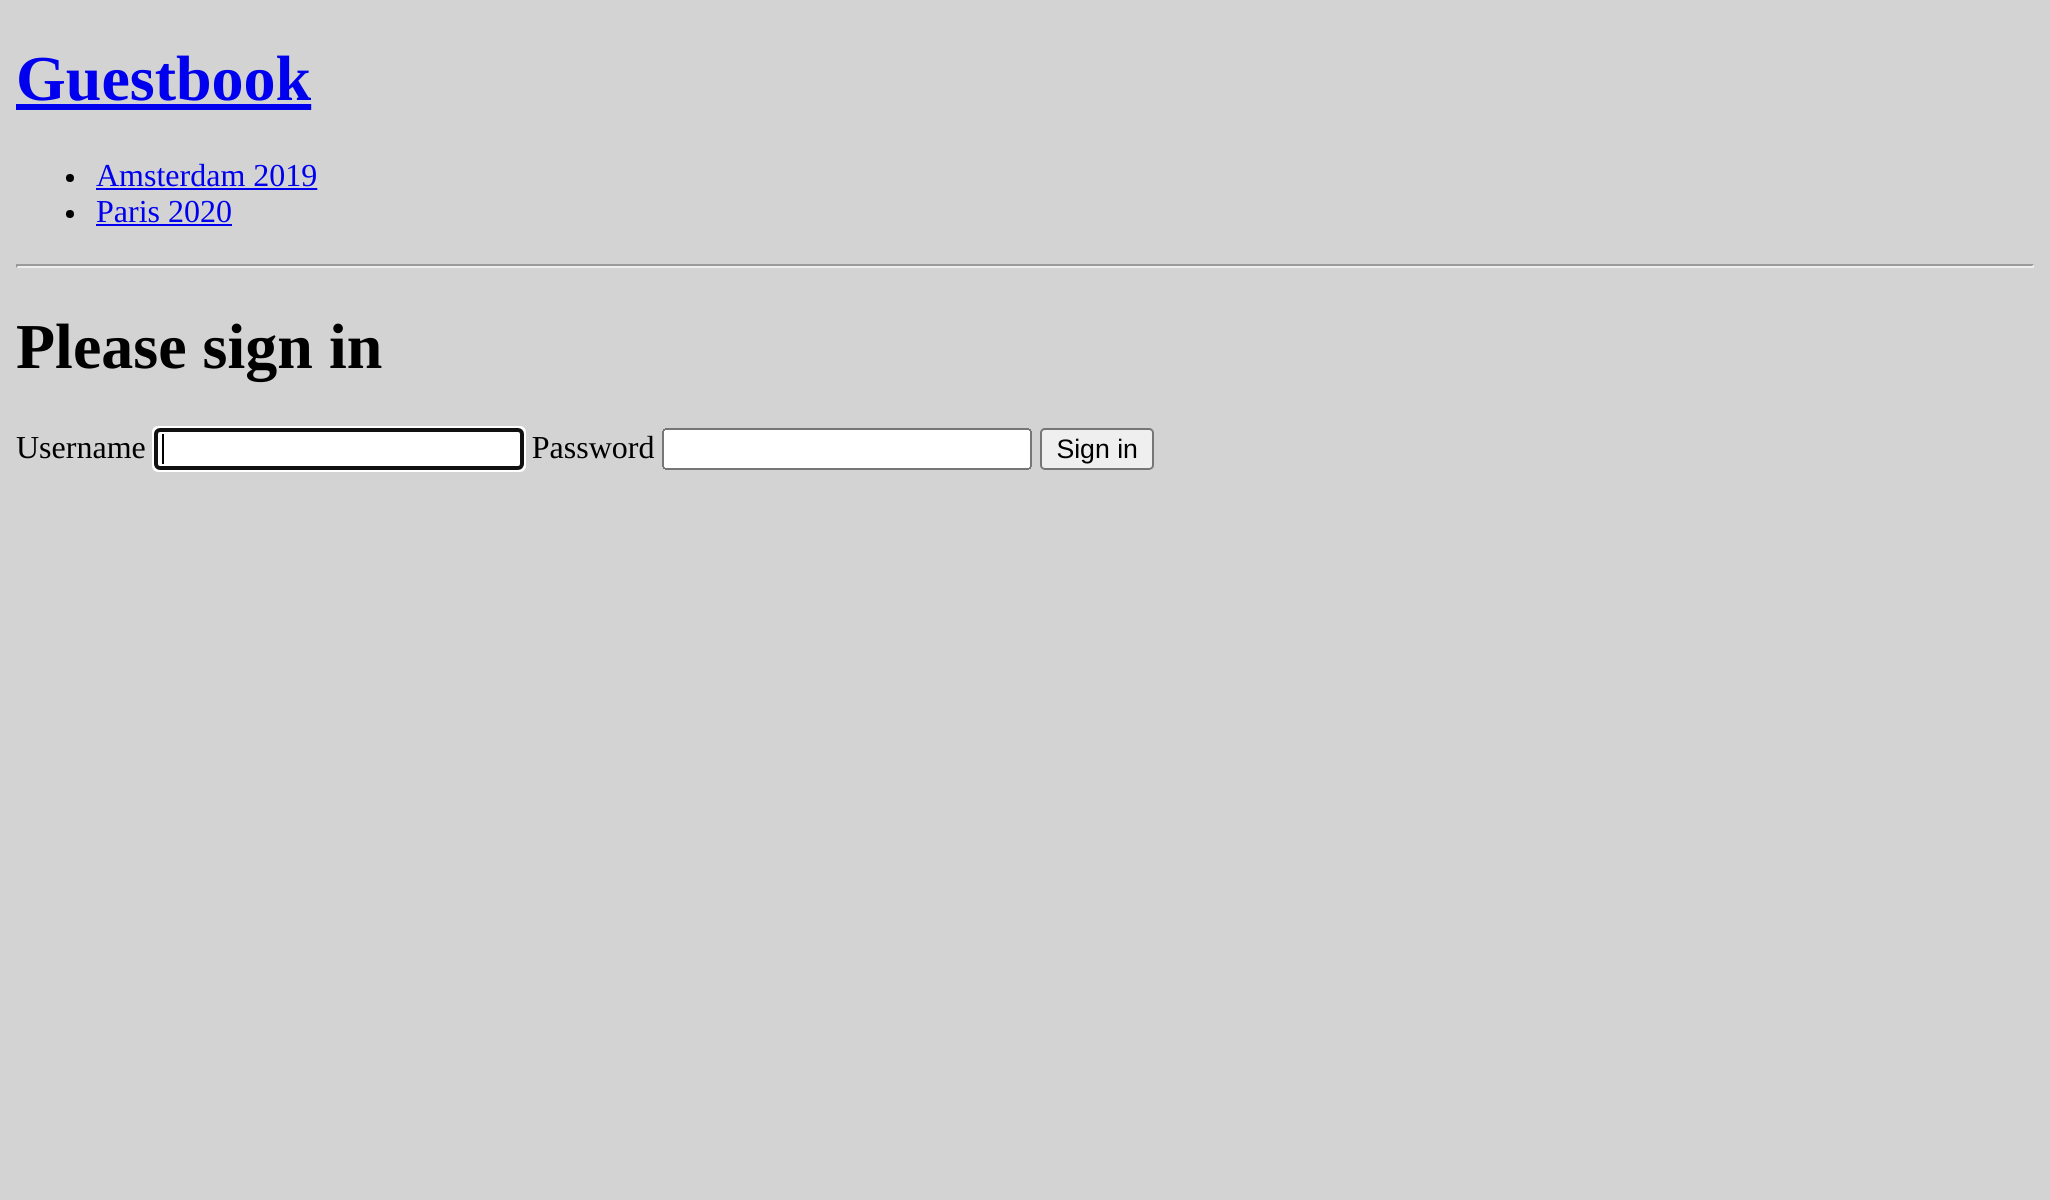
Log in met admin met het niet-gecodeerde wachtwoord dat je eerder hebt gekozen. Als je mijn SQL commando precies gekopieerd hebt, is het wachtwoord admin.
EasyAdmin herkent automatisch het Symfony authenticatiesysteem:
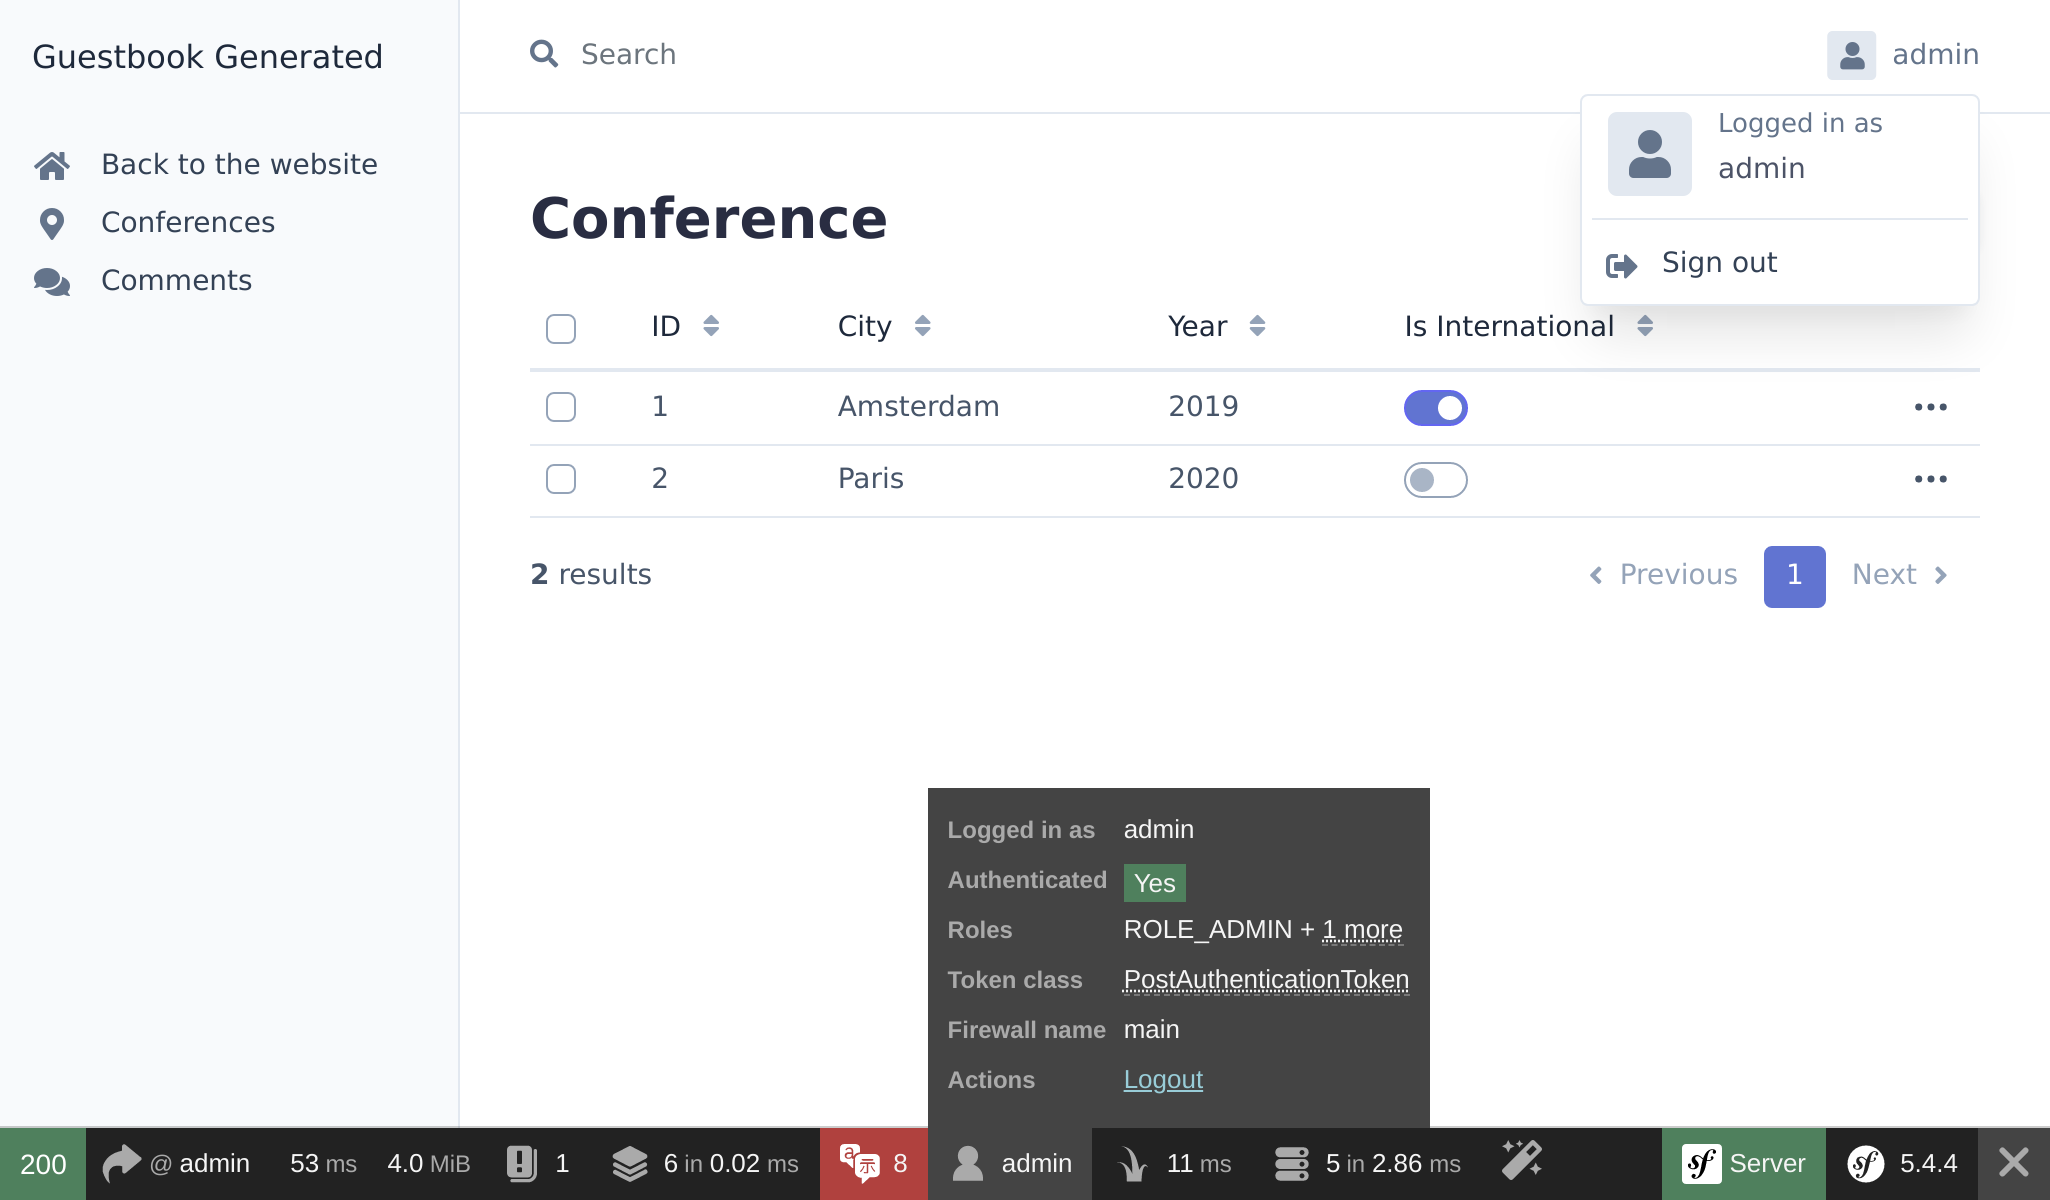
Klik op de "Uitloggen" link. Klaar! Je hebt een volledig beveiligde backend admin.
Note
Als je een authenticatiesysteem met alle toeters en bellen wil maken, kijk dan eens naar het make:registration-form commando.